How To Create The Ultimate Secret Gaming Room: A Complete Setup Guide For 2026
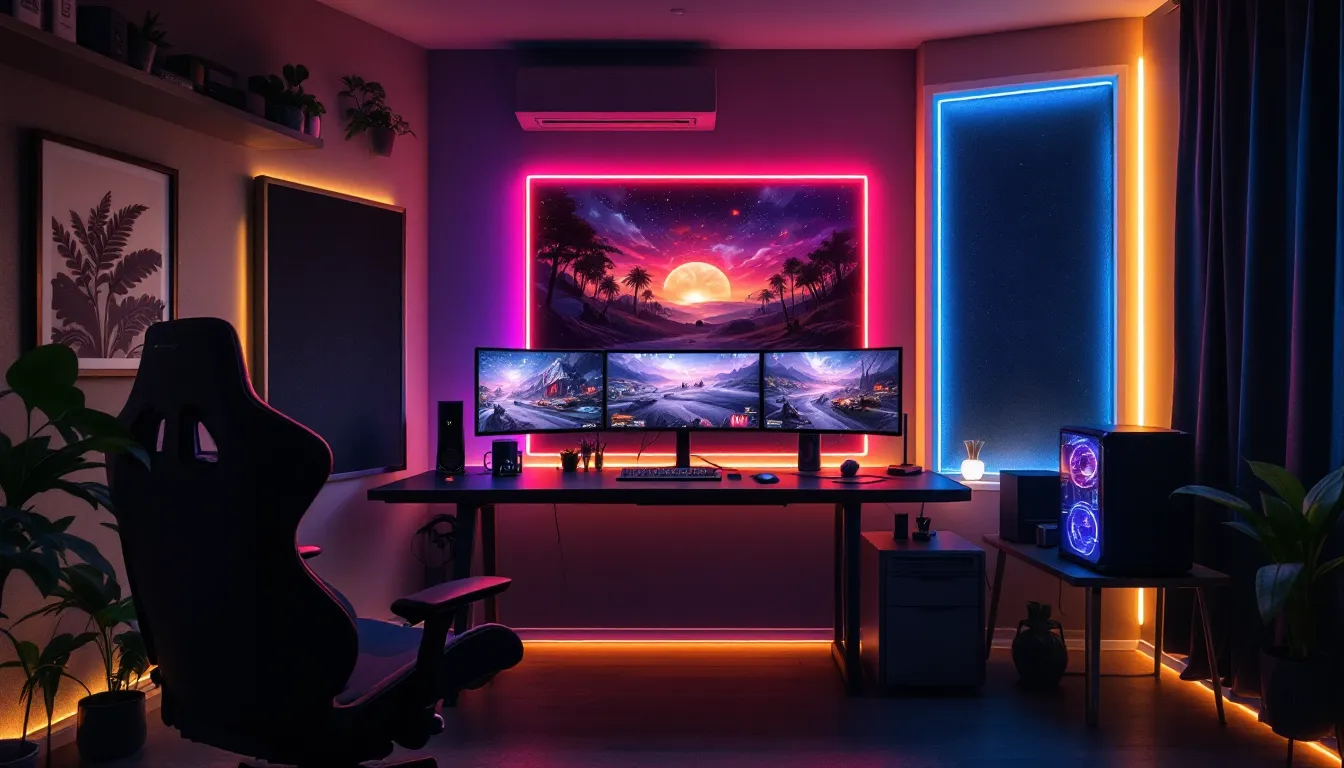
Whether you’re grinding ranked matches, speedrunning your backlog, or streaming to an audience, a dedicated gaming space transforms how you play. A secret gaming room isn’t about hiding, it’s about creating an environment where you control every variable that affects your performance. Distractions fade, your gear lives where you need it, and you can configure the space exactly to your preferences without compromise. This guide breaks down everything required to build a legitimate gaming sanctuary in 2026, from location selection and hardware configuration to ergonomics and cooling, with real budget considerations for every commitment level.
Key Takeaways
- A dedicated secret gaming room provides a competitive advantage by controlling distractions, temperature, lighting, and noise, directly improving your performance metrics.
- Choose your location carefully—basements offer natural insulation and soundproofing potential, while spare bedrooms provide faster setup and standard electrical infrastructure.
- Invest strategically in your chair and desk first; a quality ergonomic chair and spacious desk (minimum 48 inches) are non-negotiable foundations that prevent chronic pain and support long gaming sessions.
- Proper cooling (good case airflow, tower or liquid coolers, and room-level AC control) is essential to prevent thermal throttling and extend hardware lifespan during sustained high-performance gaming.
- Multi-monitor setups (1440p 144Hz is the 2026 sweet spot) combined with quality audio systems and dedicated microphones enhance both competitive awareness and immersion significantly.
- Budget across phases rather than all at once: start with basics (chair, desk, display), then layer in cooling and audio, followed by acoustics and room environment control, spending $1,500–$10,000+ depending on your commitment level.
Why Every Serious Gamer Needs A Dedicated Secret Gaming Space
A dedicated gaming room isn’t a luxury, it’s a competitive advantage. The psychological benefit alone is massive: stepping into a space designed entirely around gaming puts you in the right headspace. You’re not gaming at the kitchen table between family obligations or in a living room where the TV remote is visible. You’re gaming in your space.
Beyond psychology, the practical benefits stack up fast. Temperature control, noise isolation, and consistent lighting directly impact your performance metrics. A gamer with dedicated hardware, optimized ergonomics, and zero ambient distractions will out-perform the same player setup at a desk in a shared space every single time. Professional esports players have been leveraging this for years, their practice environments are meticulously controlled because even 1% gains compound over thousands of hours.
Your secret room also protects your gear investment. Instead of cables running across common areas or equipment vulnerable to spills and interference, everything lives safely in a purpose-built environment. You’re not replacing a monitor every time someone bumps the desk.
Finally, dedicated space means you can actually optimize your setup without compromise. Want your monitor perfectly positioned at 90 degrees to a window? Done. Need exact temperature for cooling your GPU? You control it. Want soundproofing so you can voice chat without broadcasting your ranked gameplay to the whole house? That’s the whole point.
The Perfect Location For Your Secret Gaming Room
Location makes or breaks the space. You need a room that provides isolation from household traffic, natural sound barriers, and reasonable climate control potential. The wrong location will undermine everything else you build.
Basement Or Spare Bedroom Considerations
Basements are the classic choice for a reason. They’re naturally insulated, often already somewhat isolated, and not prime real estate for other activities. A finished basement gives you walls, ceiling control, and usually decent climate separation from the rest of the house. The main tradeoff is moisture, basements need dehumidification equipment, especially if you’re running high-end hardware generating heat. Standing water or condensation is a GPU killer.
Spare bedrooms are the practical alternative, especially if your basement is unfinished or damp. They’ve got drywall, electrical outlets built in, and standard HVAC connections. A second bedroom can be converted faster and with fewer complications than finishing basement space. The tradeoff is sound, bedrooms share walls with other rooms, so soundproofing becomes non-optional rather than just helpful.
Small dedicated closets or converted office spaces work if bedroom/basement aren’t viable, but you’ll lose flexibility on cable routing, equipment upgrades, and comfort features. The space needs to fit at minimum your desk, chair, monitor setup, and enough clearance to not feel claustrophobic during long sessions.
Consider power infrastructure too. Your gaming rig pulls sustained load: you’ll need dedicated circuits or heavy-gauge extension cabling. A room with existing outlets near your planned desk location saves serious installation headache.
Soundproofing And Privacy Solutions
Soundproofing isn’t about making your room silent, it’s about decoupling sound transmission between your space and adjacent areas. This gets critical if you’re streaming, practicing voice comms, or just don’t want to hear household noise bleeding through walls.
Basic soundproofing starts with acoustic panels. These absorb sound reflections inside your room, reducing reverb and making voice communication clearer. They don’t block outside noise nearly as well, but they’re affordable ($15-50 each) and stick to walls non-permanently.
Real soundproofing requires decoupling the walls themselves. This means adding mass (dense materials like Mass-Loaded Vinyl or acoustic foam) and breaking the sound path with isolation clips on mounting hardware. It’s not cheap, expect $500-1500 for a serious single-wall treatment, but it genuinely works.
Door seals matter more than most people realize. Weatherstripping and door sweeps stop sound leakage at the biggest gap in most rooms. A hollow-core door leaks sound like a sieve: solid-core or insulated doors are worth upgrading if budget allows.
Privacy also means lighting control. Blackout curtains prevent outside glare and stop light pollution from affecting your display visibility. They also prevent people peering in through windows, important if your gaming area’s visible from outside.
Essential Hardware And Gaming Setup
Your hardware foundation determines everything else. Whether you’re going all-in on PC, maintaining a console ecosystem, or running a multi-platform setup changes the entire room layout and power requirements.
PC And Console Configuration
PC gaming lets you dial in performance and customize every variable. RTX 4070 or 4080-level hardware (as of early 2026) hits the performance/cost sweet spot for 1440p 144Hz or 4K 60Hz gaming. If you’re running a top-tier competitive title like Valorant or CS2, even a mid-range RTX 4060 Ti can push 240+ FPS: your CPU matters more at that level.
Console gaming, PS5, Xbox Series X/S, requires less tweaking but you’re committed to that ecosystem’s performance ceiling. The Series X and PS5 both deliver 4K 30FPS or dynamic 1080p/1440p at 60FPS depending on the game. For esports titles that favor framerate (like Fortnite or Apex Legends), console performance is respectable but trails high-end PC setups.
Multi-platform setups (PC + console) are increasingly common. This means multiple input devices, console controllers alongside mouse and keyboard, and enough screen real estate to monitor both simultaneously. Budget accordingly for additional mounting hardware.
PC-specific: You’ll need UPS (uninterruptible power supply) protection for at least your monitor and router. A power surge during a ranked match is catastrophic. 650W supply minimum for a mid-range build, 750W+ if running flagship GPUs. Cable management here gets complex fast, don’t cheap out on cable routing.
Console-specific: HDMI 2.1 supports the newest console features (120FPS where supported, VRR, etc.). Check your monitor or TV supports it: most TVs from 2021+ do, but older gaming monitors might not.
Multi-Monitor And Display Optimization
Most competitive gamers run primary + secondary displays. Your primary is locked-in straight ahead at optimal distance (24-28 inches, about 1-1.5 arm lengths away). Secondary displays flank it for chat, stream monitoring, or reference material.
Display specs matter for your game type. Competitive shooters demand high refresh rates: 240Hz minimum for serious Valorant/CS2 play, 144Hz acceptable for slightly slower titles. Response time (1-2ms gray-to-gray) is actual though marketing often exaggerates it. IPS panels offer better color accuracy for creative work but VA panels have higher contrast and better response times.
Resolution vs. framerates is the eternal tradeoff. 1440p 144Hz is the 2026 sweetspot for high-end hardware, sharp enough for detail, smooth enough for twitch shooters. 4K 60Hz looks incredible for story games but is choppy for competitive play. 1080p 240Hz+ is pure competitive optimization if framerate is your only goal.
For multiple monitors, consistency helps. Three matching 24-27″ displays aligned horizontally feels more natural than mixing sizes and bezels. Bezel gap between monitors is negligible on modern displays but was a bigger deal historically.
Bezels-less setups demand better cable management because you’re running multiple display cables (DisplayPort or HDMI). Route them carefully so they don’t become trip hazards or drag across your mousepad.
Ergonomic Furniture And Comfort Features
You’re going to spend 6-12+ hours in this room during serious gaming sessions. Cheap furniture turns into chronic back pain and wrist strain. Competitive gamers understand that comfort directly affects performance, you can’t maintain precision aim or quick decision-making when your lumbar spine is screaming.
Gaming Chair And Desk Selection
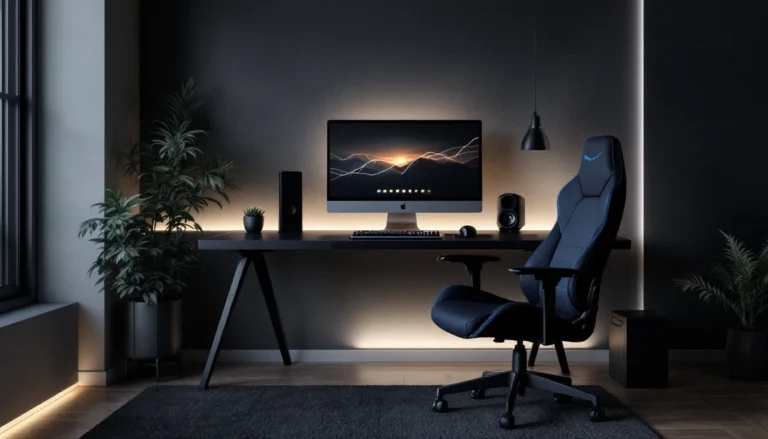
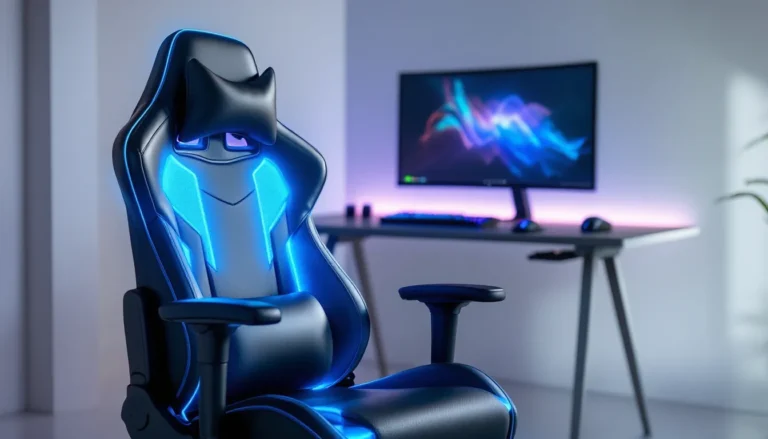
Your chair is the most critical purchase in this room. Don’t default to “gaming” chairs with fake leather and RGB, look for actual support. A quality task chair (Herman Miller Aeron, Steelcase Leap, or similar) costs $400-1000 but lasts years and genuinely supports proper posture. Gaming-branded chairs ($200-500) are hit-or-miss: some are solid, others are uncomfortable garbage with flashy aesthetics.
What matters in a chair:
- Lumbar support that actually matches your spine’s curve
- Adjustable armrests (not fixed, not removable)
- Seat depth that lets you sit back fully without pressure on the back of your thighs
- Tilt tension adjustment so you’re not rigidly locked upright
For your desk, size matters more than brand. You need minimum 48″ width to comfortably fit a triple-monitor setup, keyboard, mouse space, and controller accessibility. Depth should be 24-30″ minimum so your monitor isn’t uncomfortably close. Adjustable-height desks ($300-600) are increasingly worth it, you can alternate sitting and standing throughout the day, which fights fatigue.
Desk surface texture matters too. Glass looks clean but is slippery for mice: hard plastic is better but can be loud. Wooden desks with mouse pads underneath offer the best balance of precision and durability.
Mouse and keyboard are extension of your input precision. Mechanical keyboards ($80-200) offer tactile feedback and consistency that membrane boards can’t match. Gaming mice with adjustable DPI buttons and low latency connectivity (wired or premium wireless) are worth $50-80. Cheap peripherals introduce input lag and inconsistency that actively hurts your performance.
Lighting And Ambiance Design
Lighting affects visibility, eye strain, and your ability to focus during long sessions. Bad lighting ruins an otherwise perfect setup: good lighting is nearly invisible because it just works.
RGB Lighting And Aesthetic Customization
RGB peripherals and accent lighting are fun but not the priority. What matters is functional ambient lighting that doesn’t create glare on your monitors or wash out your display colors.
The setup: Key light source behind your monitors at about the same color temperature as your display (around 6500K for standard, 5000K if you prefer warmer). This creates backlighting that reduces eye strain during long sessions. Don’t point bright lights at your monitor, you’re creating glare and defeating the purpose.
Desk task lighting (small clip light or under-desk strip) for keyboard visibility without eye strain. Keep it at 3000-4000K (warmer) so it doesn’t conflict with your monitor color profile.
RGB underglow on your desk or around your space adds ambiance without affecting gameplay. It’s purely aesthetic and honestly makes the space feel more immersive if you’re into that. Sync it with your keyboard, mouse, and headset lighting if they support it, but prioritize actual functionality over color schemes.
Brightness matters more than you’d think. Competitive players often run darker rooms with accent lighting because contrast increases perceived sharpness on displays. Eye strain comes from high-contrast between dark monitors and bright surroundings, not from darkness itself.
Cable Management And Organization
Cables are chaos. You’re running power for PC, monitors, peripherals, audio equipment, and lighting. Without management, they become fire hazards, trip risks, and they just look awful.
Start with a power strip with surge protection mounted behind or under your desk. Label every outlet, seriously, get a label maker. “GPU Power”, “Monitor 1-3”, “Audio”, etc. makes troubleshooting dead simple.
Cable routing:
- Bundle cables with velcro straps (reusable, not permanent like zip ties)
- Run cables along the back or underside of your desk, not across the floor where you’ll catch them
- Use cable sleeves or conduit for the long runs (monitor cables, Ethernet, etc.)
- Keep USB cables separate from power cables to reduce electromagnetic interference
Consider a cable management box or raceway system if your desk area is particularly messy. Ikea Signum or similar under-desk cable trays ($15-30) keep everything organized and make upgrades easier later.
Wireless peripherals help but aren’t magic. 2.4GHz wireless can introduce interference with WiFi: 5GHz or dedicated USB dongles are more stable. The tradeoff is battery management (keep rechargeable batteries and a charger nearby).
Audio Systems For Immersive Gaming
Audio is genuinely half the experience. You’re locating footsteps in competitive shooters, hearing directional cues in horror games, and monitoring voice comms during team play. Bad audio cripples immersion and actually costs you competitive matches.
Headsets vs. speaker systems is the first choice. For competitive play, a quality gaming headset ($100-250) with closed-back design isolates outside noise and prevents audio bleed into your mic during voice comms. Brands like HyperX, SteelSeries, and Audio-Technica make solid mid-range options. Pro gamer settings often showcase what competitive players are actually using beyond just marketing hype, check real player configs for your specific game.
If you want speakers, get desktop bookshelf speakers ($150-400/pair) with a dedicated DAC (Digital Audio Converter) for clean signal path. Don’t try to game on cheap USB speakers: the audio latency alone will throw off your experience. Pair speakers with a subwoofer for immersive lower frequencies.
Spatial audio (Dolby Atmos on Windows, Tempest 3D on PS5) is becoming standard and genuinely enhances competitive awareness. Modern headsets support it: older ones don’t.
Microphone quality matters if you’re streaming or playing team-based games. A dedicated USB condenser mic ($50-150) sounds infinitely better than the built-in headset mic. Position it close to your mouth (6 inches) without popping filters, and route it through a noise gate if your room has background hum from cooling systems.
Audio interface (if going beyond headsets): PreSonus, Focusrite, or similar entry-level interfaces ($80-150) give you actual audio control. Separate mic monitoring, headset output, speaker output, all with clean gain staging and no latency.
Advanced Cooling And Temperature Control
Modern gaming hardware generates serious sustained heat. Your RTX 4080 pulls 320W, your CPU pulls 150-250W depending on the chip, that’s like running a space heater in your room. Without proper cooling, thermal throttling kills your performance and you’re shortening your gear’s lifespan.
PC cooling hierarchy: Case airflow first, then component-level cooling. A well-designed case with proper intake and exhaust routing (front/bottom intake, rear/top exhaust) keeps your whole system cooler than any individual component cooler can. Budget $100-200 for a case like Corsair 4000D Airflow or Lian Li A4-H2O that’s actually designed for airflow instead of looking cool.
GPU and CPU coolers matter at high loads. Stock coolers are functional but loud. Budget tower coolers ($40-80) or all-in-one liquid coolers ($80-200) maintain better temperatures and run quieter. GPU cooling is typically fixed (you get what the card comes with), so choose your GPU partially based on factory cooler quality.
Case fans are cheap upgrades. 120mm intake/exhaust fans run $15-25 each and have huge impact on overall system cooling. PWM (Pulse Width Modulation) fans scale their speed with temperature instead of running full-tilt all the time, they’re quieter and more efficient.
Room-level cooling: Your gaming space needs good HVAC flow. If you’re in a room where AC doesn’t reach well, a dedicated AC window unit or portable AC keeps your room at 18-22°C (65-72°F), the optimal range for stable GPU performance. An undersized AC unit won’t keep up with a high-end gaming rig during summer: calculate cooling load accordingly.
Dehumidification matters especially in basements. Humidity above 60% encourages corrosion on circuitry and promotes dust adhesion (which clogs coolers faster). A dehumidifier ($100-300) pulling moisture maintains stability long-term.
Air quality is secondary but real. Dust filters on your case intake keep the system cleaner between cleanings. Clean your case and coolers every 3-6 months depending on your environment, dust buildup is performance death by a thousand cuts.
Budget Considerations And Cost Breakdown
Building a serious gaming room costs real money. Here’s what different commitment levels look like:
Baseline Setup ($1,500-2,500): This is a functional gaming space. Used/midrange desk ($200-300), decent gaming chair ($300-500), single 1440p 144Hz display ($300-400), entry-level peripherals (keyboard $50, mouse $40), basic lighting and cable management ($100), and assumed existing PC/console. It works but corners are cut on comfort and aesthetics.
Solid Mid-Range ($3,000-5,000): Dedicated desk ($400-600), quality ergonomic chair ($600-800), dual 1440p displays ($600-800), high-quality peripherals ($150-200), proper acoustic treatment ($400-600), better lighting setup ($200-300), cooling improvements ($200), and organization systems ($100). This is where most serious hobbyists land.
High-End Serious Setup ($6,000-10,000+): Premium chair ($800-1200), triple-monitor setup with advanced displays ($1200-2000), soundproofing ($1000-1500), dedicated streaming setup with separate audio interface ($500-800), room-level climate control ($800-1500), cable routing and organizing ($300), and premium peripherals throughout ($300-500). This is setup for someone who games 6+ hours daily professionally or semi-professionally.
Hardware baseline (not included above) adds on top: Gaming PC ($1000-2500 for RTX 4070/4080 build) or console ($500-700). Headset ($100-250). Mic if streaming ($50-150).
Where to avoid cutting corners: Chair and desk. Cheap options create physical problems that cost way more to fix later (physical therapy, replacing furniture sooner). Display quality for competitive play, a bad monitor destroys your advantage. Cooling systems, thermal damage to hardware is permanent.
Where you can compromise: Aesthetics (RGB lighting isn’t functional), brand names (quality mid-tier gear often beats overpriced premium brands), and initial soundproofing (start basic, upgrade later). Monitor reviews from RTINGS provide detailed analysis before dropping money on displays, and tech guides on How-To Geek break down setup options comprehensively if you’re learning how to configure unfamiliar hardware.
Budget spreads across phases: Phase 1 is functional basics (desk, chair, display, peripherals). Phase 2 adds comfort (better cooling, lighting, acoustics). Phase 3 is optimization (multiple displays, soundproofing, room environment control). Spreading purchases avoids sticker shock and lets you adjust based on actual preferences rather than guessing.
Conclusion
A serious gaming room compounds every advantage. Better focus, optimized hardware, perfect ergonomics, and controlled environment all work together to improve your performance and extend your sessions without fatigue. You’re not just building a space to game, you’re building an environment that supports your best possible play.
Start with the non-negotiables: Decent chair, proper desk, quality display. Those three pieces form your foundation. From there, layer in cooling, then audio, then acoustics as budget allows. The secret isn’t spending absurd amounts of money: it’s spending strategically on factors that actually impact gameplay and comfort.
Your gaming room is an investment in your hobby. Whether you’re grinding ranked, speedrunning, streaming, or just trying to enjoy games without interruption, a dedicated space transforms the experience. Build it thoughtfully, upgrade it over time, and enjoy the space that lets you play at your actual potential.